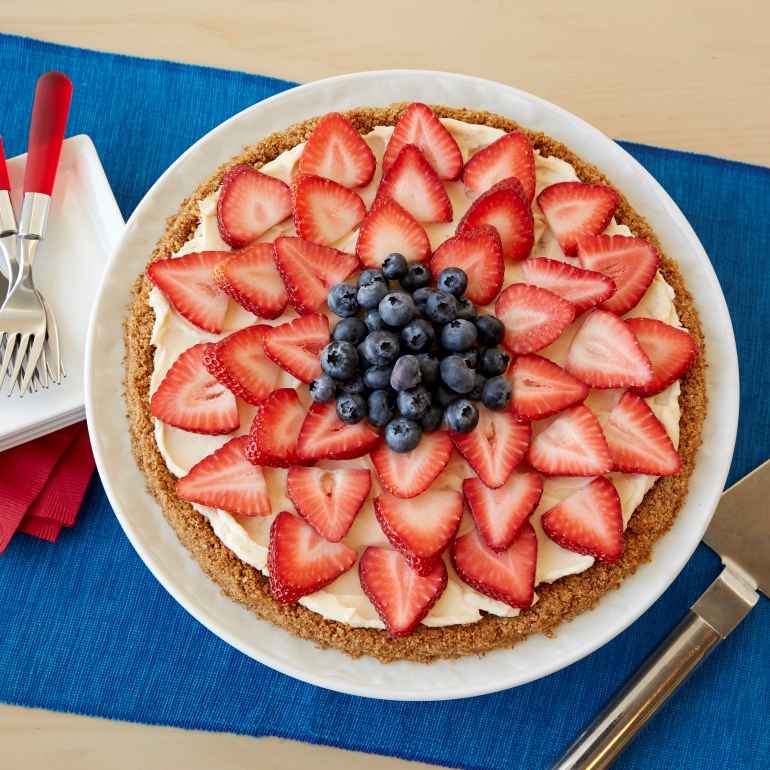
Summer Berry Granola Dessert Slice
Warmer days call for fresh, vibrant desserts that make any moment special. This easy, no-bake treat starts with a crunchy Nature Valley™ Oats & Honey.
Ingredient List
- 5 Nature Valley™ Crunchy Oats & Honey Granola Bars
- 50 g light brown sugar
- 50 g unsalted butter, melted
- 225 g full-fat soft cheese, at room temperature
- 50 g icing sugar
- 1 teaspoon vanilla essence
- 300 g strawberries, hulled and sliced
- 100 g blueberries
Preparation
-
Make the Base
Preheat oven to 180°C (160°C fan-forced). Crush 5 Nature Valley Crunchy Oats & Honey bars into fine crumbs using a food processor or zip-lock bag and rolling pin. -
Mix & Shape
Add 50g light brown sugar and 50g melted butter to the crumbs. Mix well and shape into a 23cm circle on a baking tray lined with baking paper. Press slightly around the edges for a rim. -
Bake the Crust
Bake for 10–12 minutes until golden. Cool completely on a wire rack for 30 minutes. -
Make the Creamy Topping
Beat 225g full-fat cream cheese (room temp) with 50g icing sugar and 1 tsp vanilla essence until smooth and creamy. -
Top with Berries
Spread the cream cheese mixture over the cooled base, leaving a 1cm border. Top with 300g sliced strawberries and 100g blueberries—go rustic or create a design! -
Chill & Serve
Chill for 1 hour, then slice into 8 wedges. Serve fresh for the best crunch and creamy bite. -
Twist It Your Way
Use mango, peach, or passionfruit instead of berries. Leftovers? Wrap and refrigerate—best enjoyed within a day.
Why you'll love this recipe
Whether you're hosting friends for a relaxed weekend catch-up or just craving something deliciously different, this vibrant, fruity slice hits the spot. It's quick to rustle up—a bonus for busy weekdays—and looks impressive without any tricky techniques or fuss.
How to customise the recipe for your taste
Bring some seasonal inspiration to your dessert by using ripe, juicy Australian mango slices, fresh passionfruit pulp or zesty kiwifruit to give an exciting tropical twist. – Boost the texture and richness by sprinkling a handful of your favourite nuts, whether that’s lightly toasted macadamias, crushed almonds or crunchy walnuts.
Cooking Tips and Tricks
- For an extra crunchy, evenly-cooked crust, ensure you spread the granola base in a consistent, even layer with slightly raised edges to contain your delicious toppings. Keeping the crust thickness uniform helps with even baking and prevents the edges from burning.
- Don’t have strawberries and blueberries on hand? Feel free to get creative and experiment with other fresh local fruits like ripe mango slices, juicy nectarines or kiwi fruit. These colourful additions will bring a vibrant twist, offering sweetness, texture and visual appeal.
- If your granola crust isn’t holding together firmly enough, try compressing the crumb mixture a bit more firmly using the back of a spoon or the base of a flat-bottomed glass before baking. This gives a firmer, sturdier crust structure once chilled.
- Achieve that perfect smooth topping by removing your cream cheese from the fridge in advance, allowing it to soften naturally at room temperature before whipping. This makes blending easier and ensures your topping has a beautiful, velvety texture.
- After baking the granola base, allow it to cool completely before spreading the cream cheese and toppings on top. A completely cool base prevents the creamy layer from melting and keeps the fruity topping looking fresh and inviting.
- For optimal serving temperature, refrigerate your fruity granola dessert for at least an hour before slicing. Chilling the dessert briefly makes for cleaner slices, resulting in gorgeous presentation for guests or family gatherings.
- Keep leftovers fresh in an airtight container or lightly wrapped in the fridge to maintain crunchiness and maintain texture for next-day enjoyment.
Troubleshooting Guide
Getting your slice’s crust spot-on can make or break your dessert, so here are some helpful tips to navigate any kitchen bumps along the way. If your granola crust turns out slightly too crumbly, you might need a touch more melted butter—add an extra teaspoon at a time and pulse again to help the crumbs hold together.
Related Recipes
-
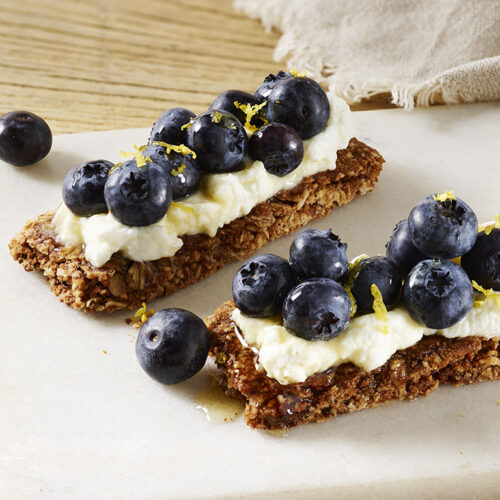 Blueberry Ricotta Granola Snack BarsSee Recipe Blueberry Ricotta Granola Snack Bars
 -
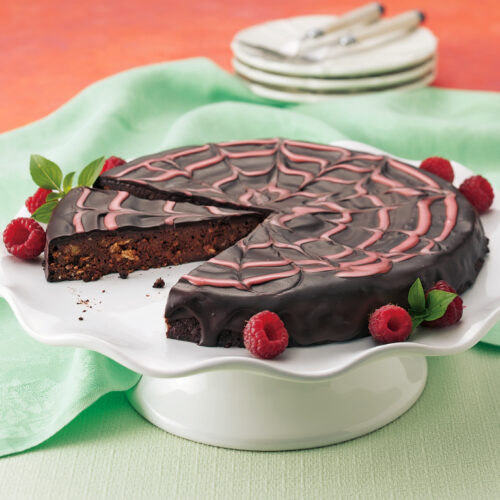 Dark Chocolate Raspberry Crunch TorteSee Recipe Dark Chocolate Raspberry Crunch Torte
 -
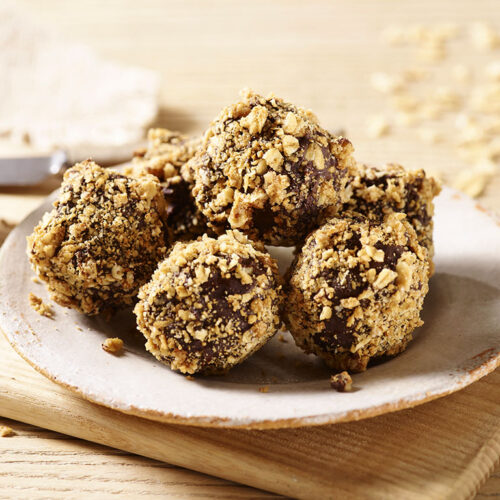 Choc Peanut Granola Bliss BallsSee Recipe Choc Peanut Granola Bliss Balls
 -
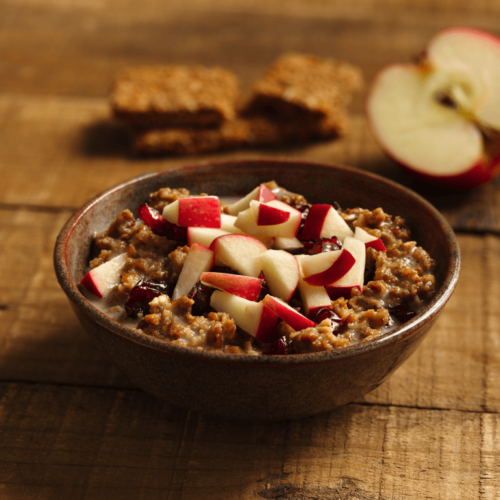 Apple Cranberry Granola Breakfast BowlSee Recipe Apple Cranberry Granola Breakfast Bowl